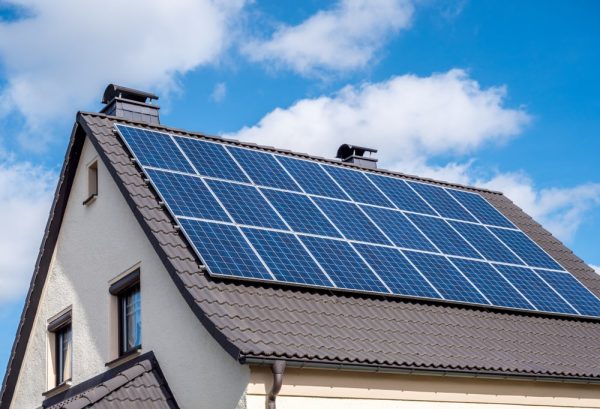
How to install solar panels on a roof

Before learning how to install solar panels onto your roof, there are a couple of things you should bear in mind. If you’re going to make a sizable investment into installing solar panels. You must be certain that you’re maximizing the efficiency of the system.

Is your home suitable for solar panels?

The first rule of thumb is that your roof orientation is south facing. In the UK, we get limited sunshine throughout the year. A south facing roof allows the solar panels to capture as much of the sun’s energy as possible. This is not a strict rule, if your roof is southwest or southeast facing then you can still benefit from solar panels. However the system as a whole may be slightly less efficient.

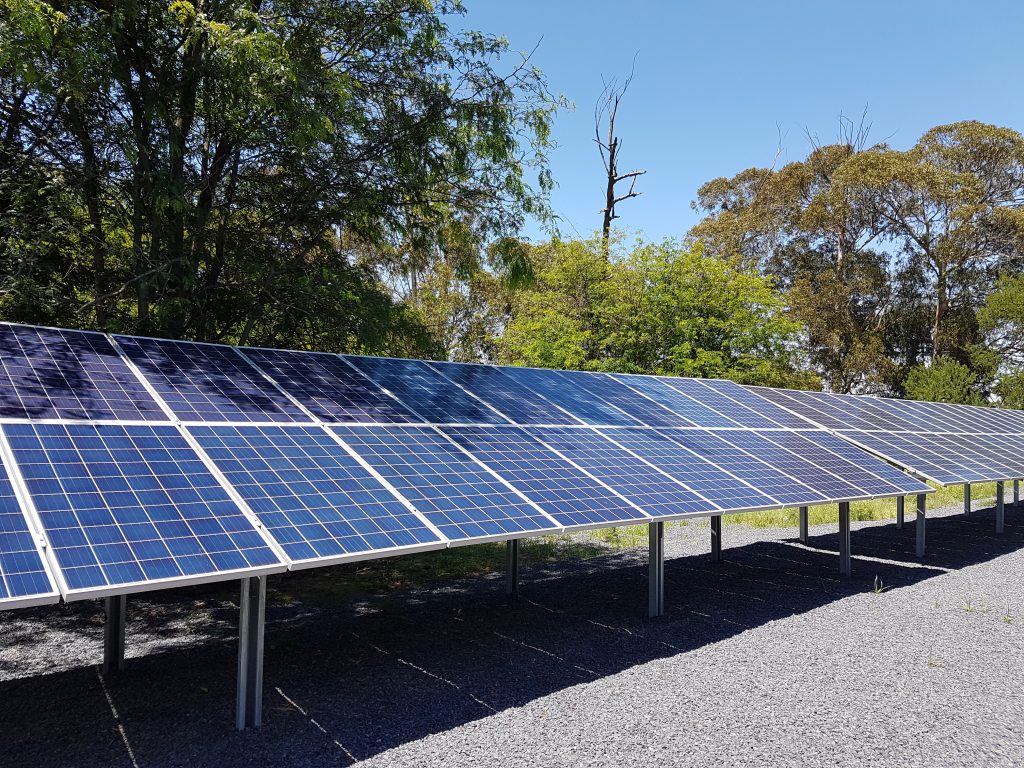
If you do not have a south facing roof, it is possible to mount the solar panels to the ground. Which is a great option providing you have the space to do so. Either way, it’s important that the surroundings do not shade the panel, as this will have a negative effect on your solar panels’ efficiency. So, if your home is surrounded by trees, then you should check they do not obstruct your solar panels at any time throughout the day.

And just a final pointer, you should double check with an engineer that the structure of your roof is sound. A typical solar panel weighs about 18kg, so a bigger system will add additional stress to the structure of your roof. 

How to connect solar panels to the roof

Now it’s time to identify which type of tiles you have on your roof, how they are fixed, and how to maneuver them. Some tiles can be slightly trickier to maneuver than others, and if possible you want to avoid damaging any tiles. Our advice, remain patient when maneuvering the tiles and don’t be hesitant to contact a roofing professional. In this example we’re going to assume you have ceramic roof tiles.

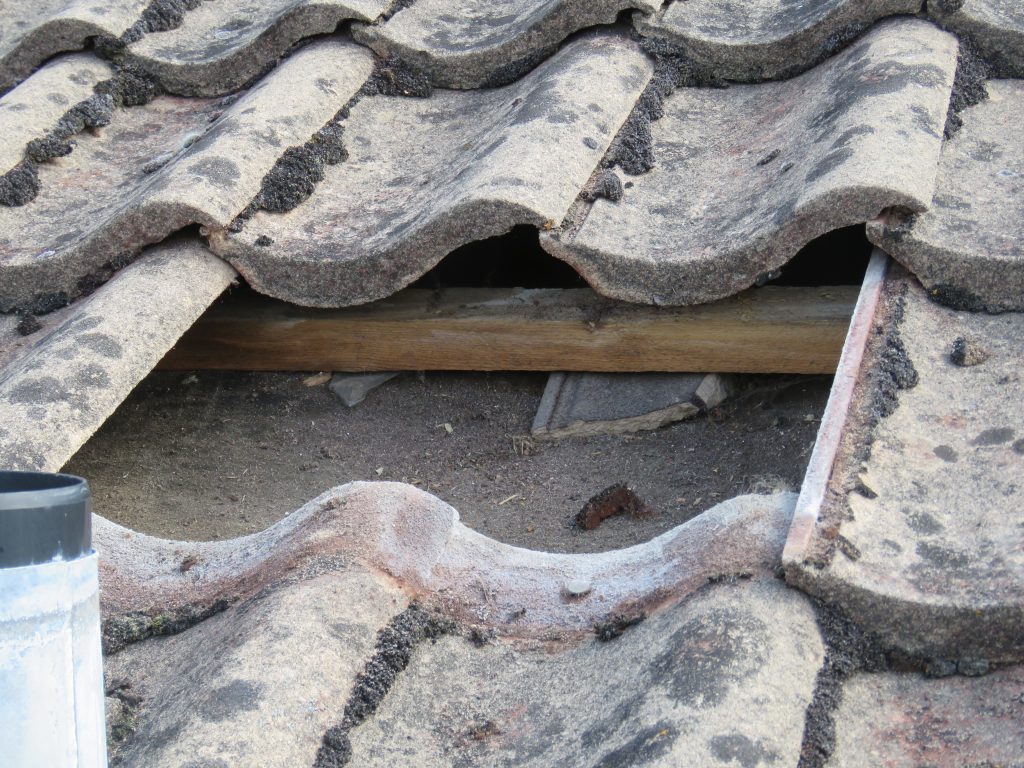
It’s time for you to now identify the first joist of your roof. To do this, you must lift one tile and push the tile below upwards, then check for a roof joist or rafter.

Once you have identified the first roof joist, you can then repeat this process along the row. Assuming that you’re installing a 4kw system in 2 by 2 orientation, you will have to lift 4 tiles on the upper row and 4 tiles on the lower row.

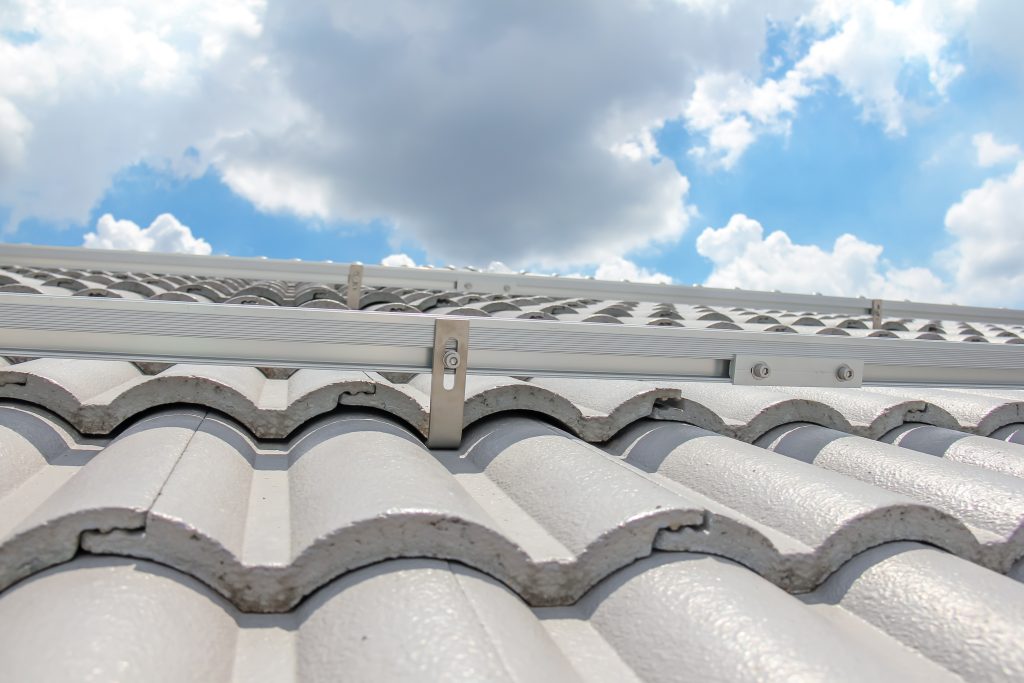
To install the solar panels onto your roof, you need to secure it to a railing (which is sort of like a rack), which is then fixed to your roof. Fixing the railing to the roof joist means you will need roof hooks. Simply fix the roof hooks to the roof joist with heavy duty screws. The roof hook should be sitting in such a way that the roof tile can slide back down and be in line with the other tiles. The tile which was pushed upwards can then be pulled downwards to cover the roof hook. This way your roof will be in perfect condition and will not allow water ingress.

You should now have the roof hook fixings in place, this means you can now proceed to attach the railing that holds the solar panels to the roof hooks. Measure the railing accordingly and bolt the railing to the roof hook whilst ensuring that the railing is level. 

*Note, the railing should be running perpendicularly to the direction of the roof riles*

Your railing system holds the solar panels to the rail, and therefore your roof. Choosing a more rigid rail is the best option for you, as the overall finish is a lot neater and easier to install. From this point the solar panels are ready to be connected to the railings.

How to wire solar panels

Wiring up your solar panels should always be left to a qualified electrical engineer or competent persons. When dealing with electrics and in particular electronics which conduct high voltage, your health & safety is absolutely essential. It is strongly advised that you work in accordance with health & safety regulations. 

Anyway, a good starting point would be to identify the mains board or consumer unit, also known as a distribution board; this component divides the main electrical supply into secondary circuits. This is where magic happens – all the energy that is collected from your solar panels is distributed across your home. 


From this point onwards, the method of wiring your solar panel differs depending on the manufactures install guidelines and also your need for any additional equipment such as battery storage. In this example, you can imagine the simplest case (No battery storage, online monitoring or any other fancy devices).

So from the mains boards you will have to run an armored electrical cable (normally 16mm and 3 course steel) to the inverter which will normally be situated in the roof.


What is an inverter? An inverter is considered to be one of the most important pieces of kit in solar engineering. This unit changes the direct current into an alternating current. A solar panel generates direct current from the sun’s light energy. But all the electrical circuits in your home require alternating current or AC electricity. Hence the imporantact of the inverter.

The final thing you have to do in order to successfully wire your solar panels is to actually connect the solar system to the inverter. Each panel should have its own micro inverter which connects to the inverter string cable. The Inverter string cable then connects directly to the inverter. Quick tip – cable tie all the inverter string cables to the railing, this will ensure no water can run across the cable. 

Are you thinking of having solar panels installed at your home?

If you’re considering bringing the assets that are solar panels to your home, please do not hesitate to contact us! Our services include a survey and a quote. If you then decide to give the green light to Solar PV installation, our NICEIC approved installer will be appointed to your home as soon as you’d like!

Home Solar PC panels